Saturday afternoon Richard and I tried the Romans and Parthians again using Impetus, but this time just 400 points per side.
Even with the reduced size I had trouble getting them in one photo.
The Parthian line stretching out to infinity.
My deployment as seen by the enemy.
End T1 and the armies are on the move. The Charismatic Parthian general roles a double 6 as does his expert sub-general. They cannot get any better, but it is perhaps an omen.
Come T2 and I start shuffling around my cavalry on my left flank.
While on my right I despatch a unit of legionnaires to block the way.
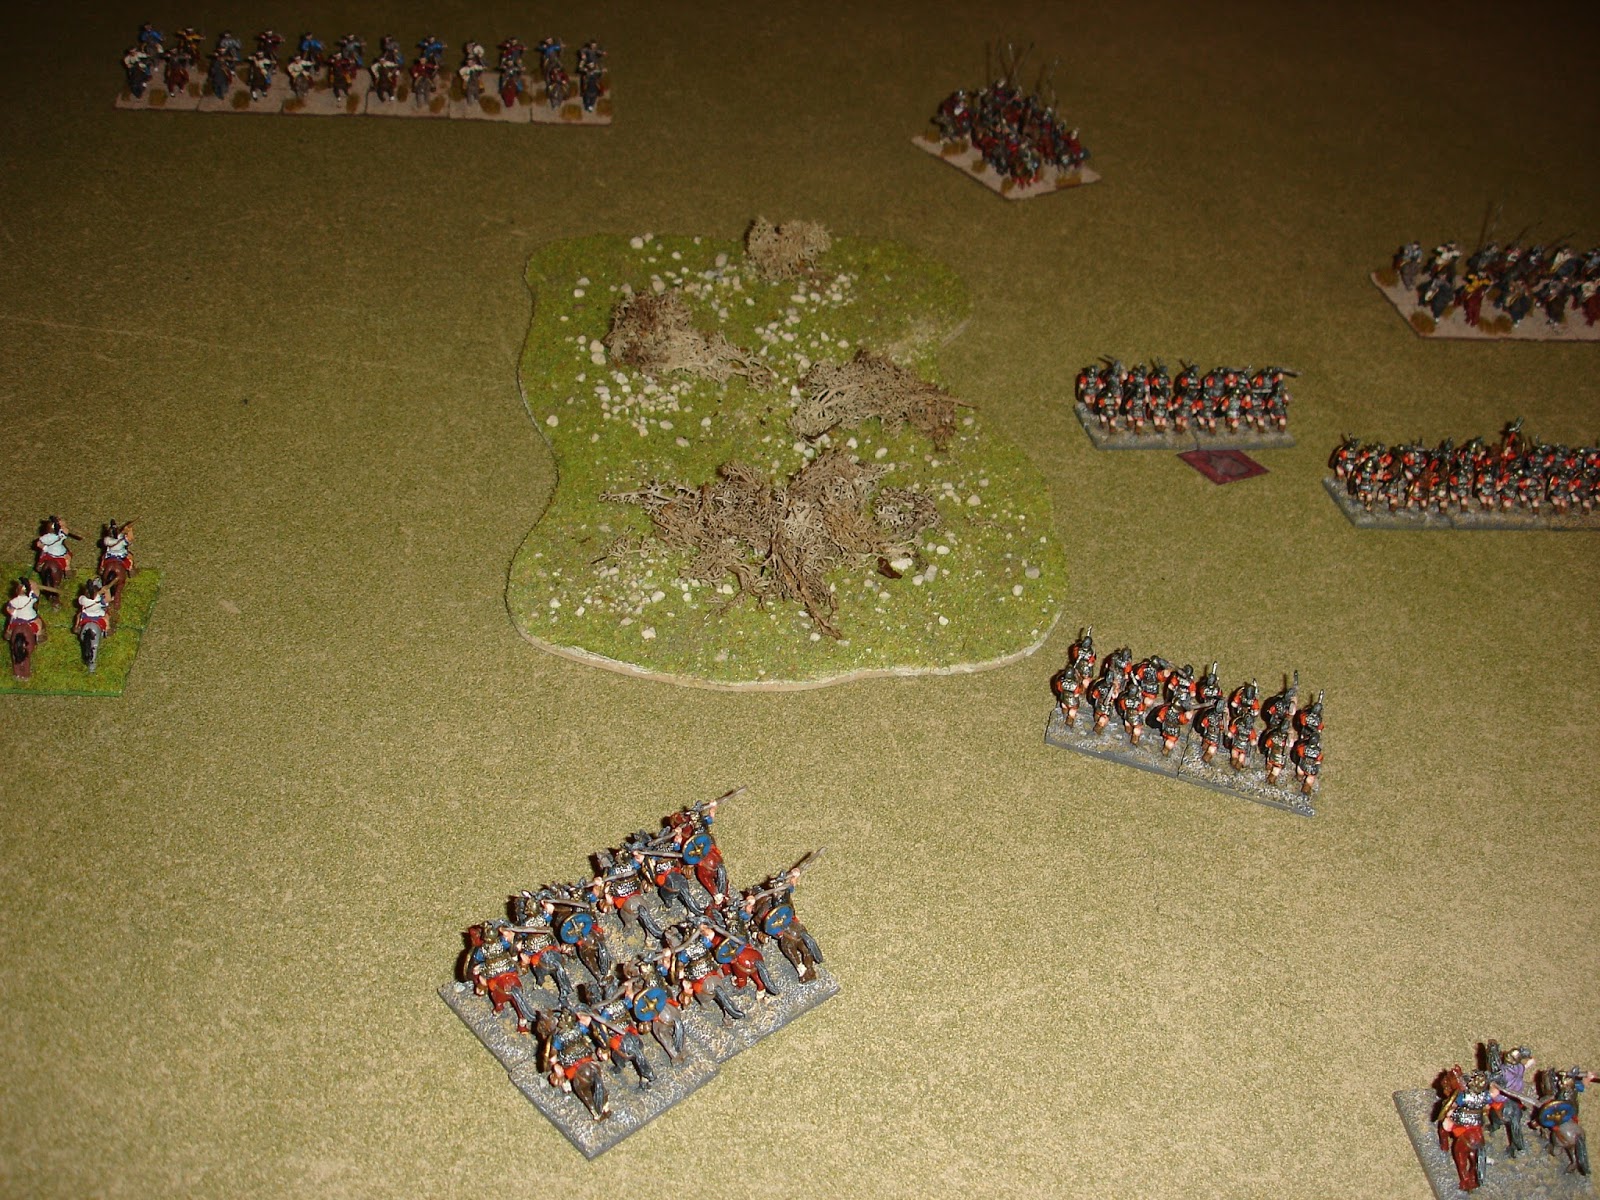
End T3 and arrows start to fly.
Attracted by the oasis perhaps, other things fly in.
My right flank end T3 - there is a mass of cataphracts approaching.
T4 sees more manoeuvring on my left.
While on my right my covering force takes some losses.
The javelinmen skirmishers covering my centre are shot away in one go.
T5 and we have contact. One unit of legionnaires is vaporised, but the line is holding and casualties have been inflicted on the cataphracts.
On the left its just posturing, but from a safe distance of course.
Where the action is. Also showing off my new disorder markers and loss wheels.
T6 and the left is still doing not much at all.
Fighting continues on the right with the Romans doing okay kind of, maybe...
On the far right the enemy horse-archers have pulled back.
Only to redeploy next turn.
They try the same trick on the left. I wasn't expecting them to go into the broken ground. It's not much of an impediment so I shouldn't have been surprised.
By the end of T7 the Romans were worn, but still confident.
Turn 8 and I try moving in the broken ground. My medium cavalry don't have the flexibility of the enemy light cavalry and I decide this has been a mistake.
On my right there has been a disaster and the command has broken.
T9 and my centre is in serious trouble. At this time Crassus rolls up and decides he is a fair general, no longer poor. I think what actually happened was that he left the battlefield.
Last hurrah.
The left is okay, but...
The rest of my army has collapsed.
Took us around four hours. No problems with the rules, although we were careful to check a few things when interesting situations arose.
All figures, terrain and wildlife are Richards. I supplied the markers.